How to Safely and Correctly Install a Water Filter
Installing a water filter doesn't have to be complicated if you know what steps to follow. A reputable
Fresno water filter companycan help with professional installation, but many homeowners prefer the DIY route. This guide walks you through everything from checking compatibility to testing your water quality after setup. You'll need a few basic tools and about an hour of your time to get it done right. Follow these steps to make sure your filter works properly and keeps your drinking water clean.
Check Water Filter Compatibility
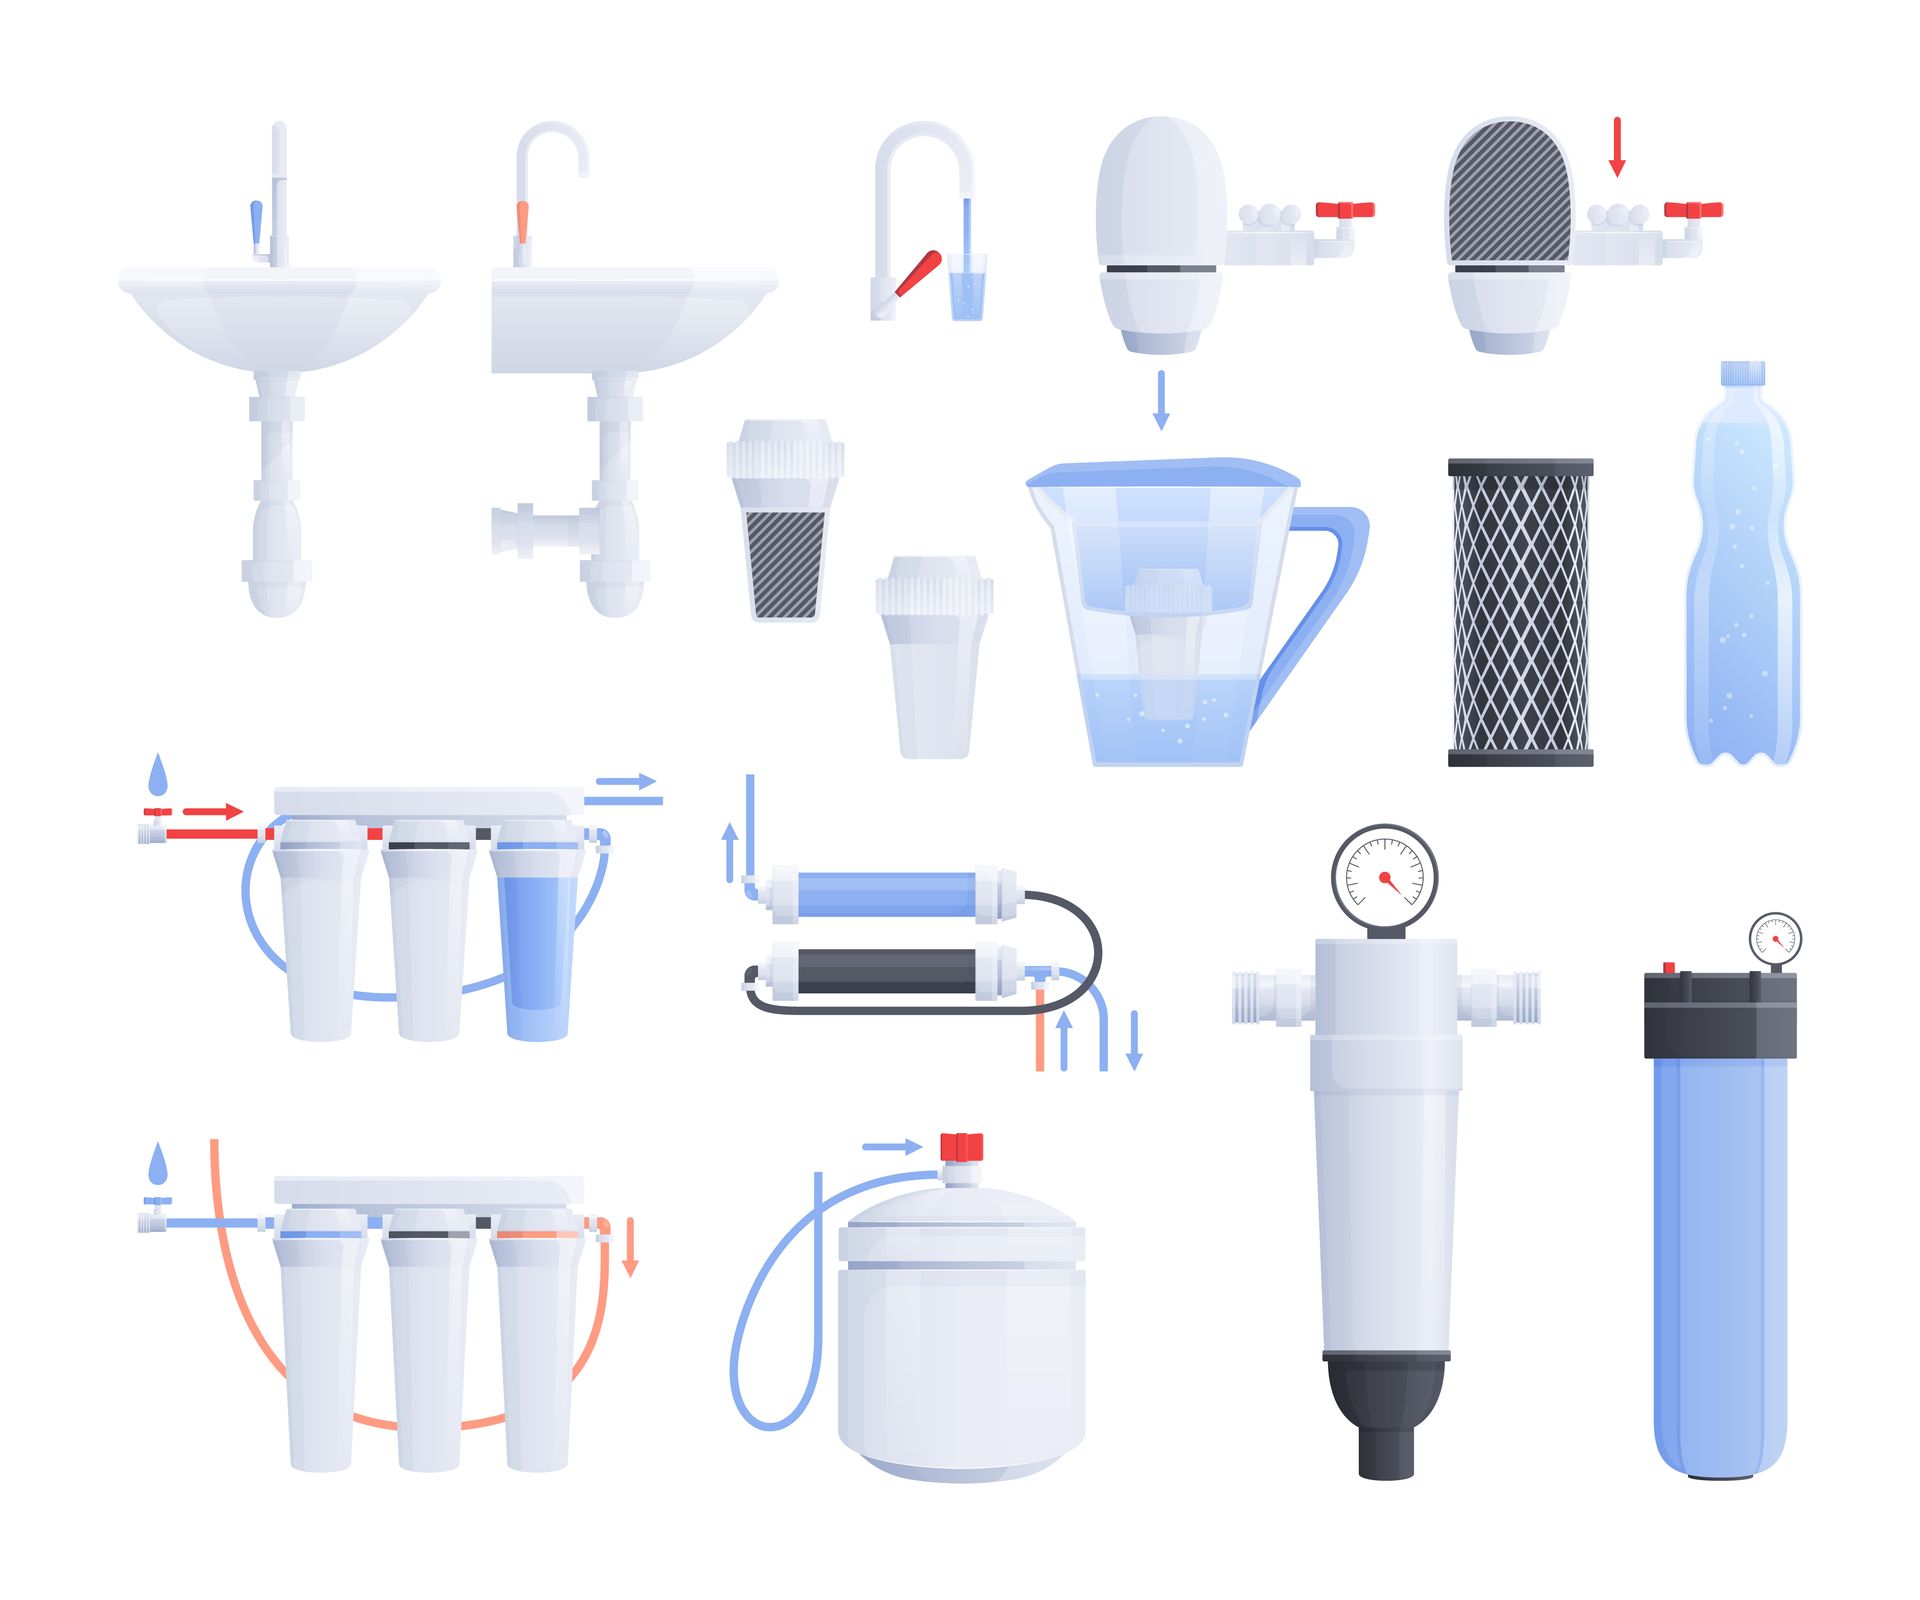
Before buying a water filter, make sure it works with your existing plumbing. Check the filter's specs to confirm it matches the size and type of your current connections. You'll also want to compare the filter's water pressure requirements to what your home actually delivers. Some filters need adapters or extra fittings, so figure that out before you start. Taking time to verify compatibility upfront saves you headaches during installation and helps the filter work as it should.
Gather Necessary Tools and Materials
Before you start, grab all the tools and materials you'll need:
- Adjustable spanner
- Set of screwdrivers
- Pipe cutter
- Thread seal tape
Having everything ready keeps the job moving without annoying interruptions. The adjustable spanner handles tightening connections, while screwdrivers help remove any components in the way. A pipe cutter lets you trim piping to the right length for a proper fit. Thread seal tape is applied to threaded connections to create a tight seal and prevent leaks. Get these items together before you begin.
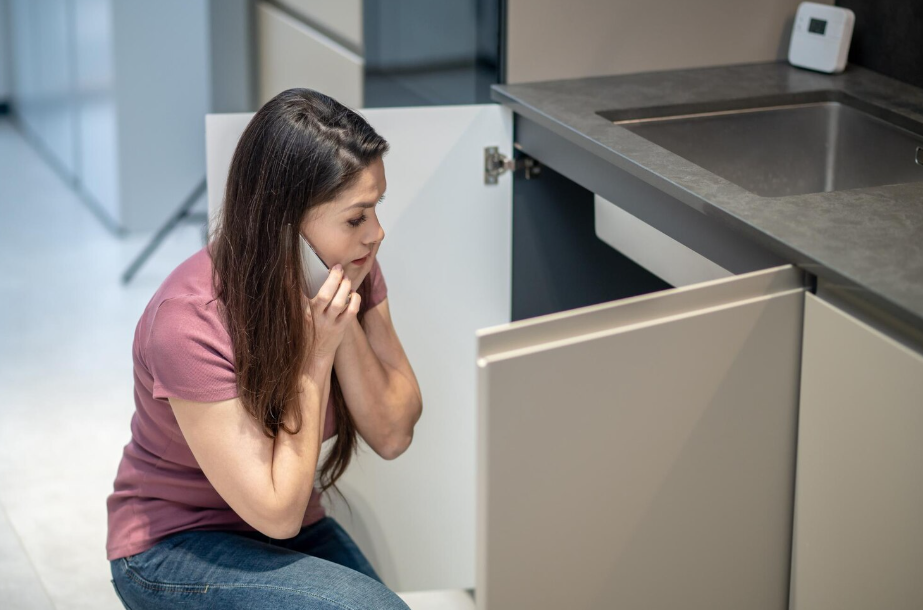
Shut Off Water Supply
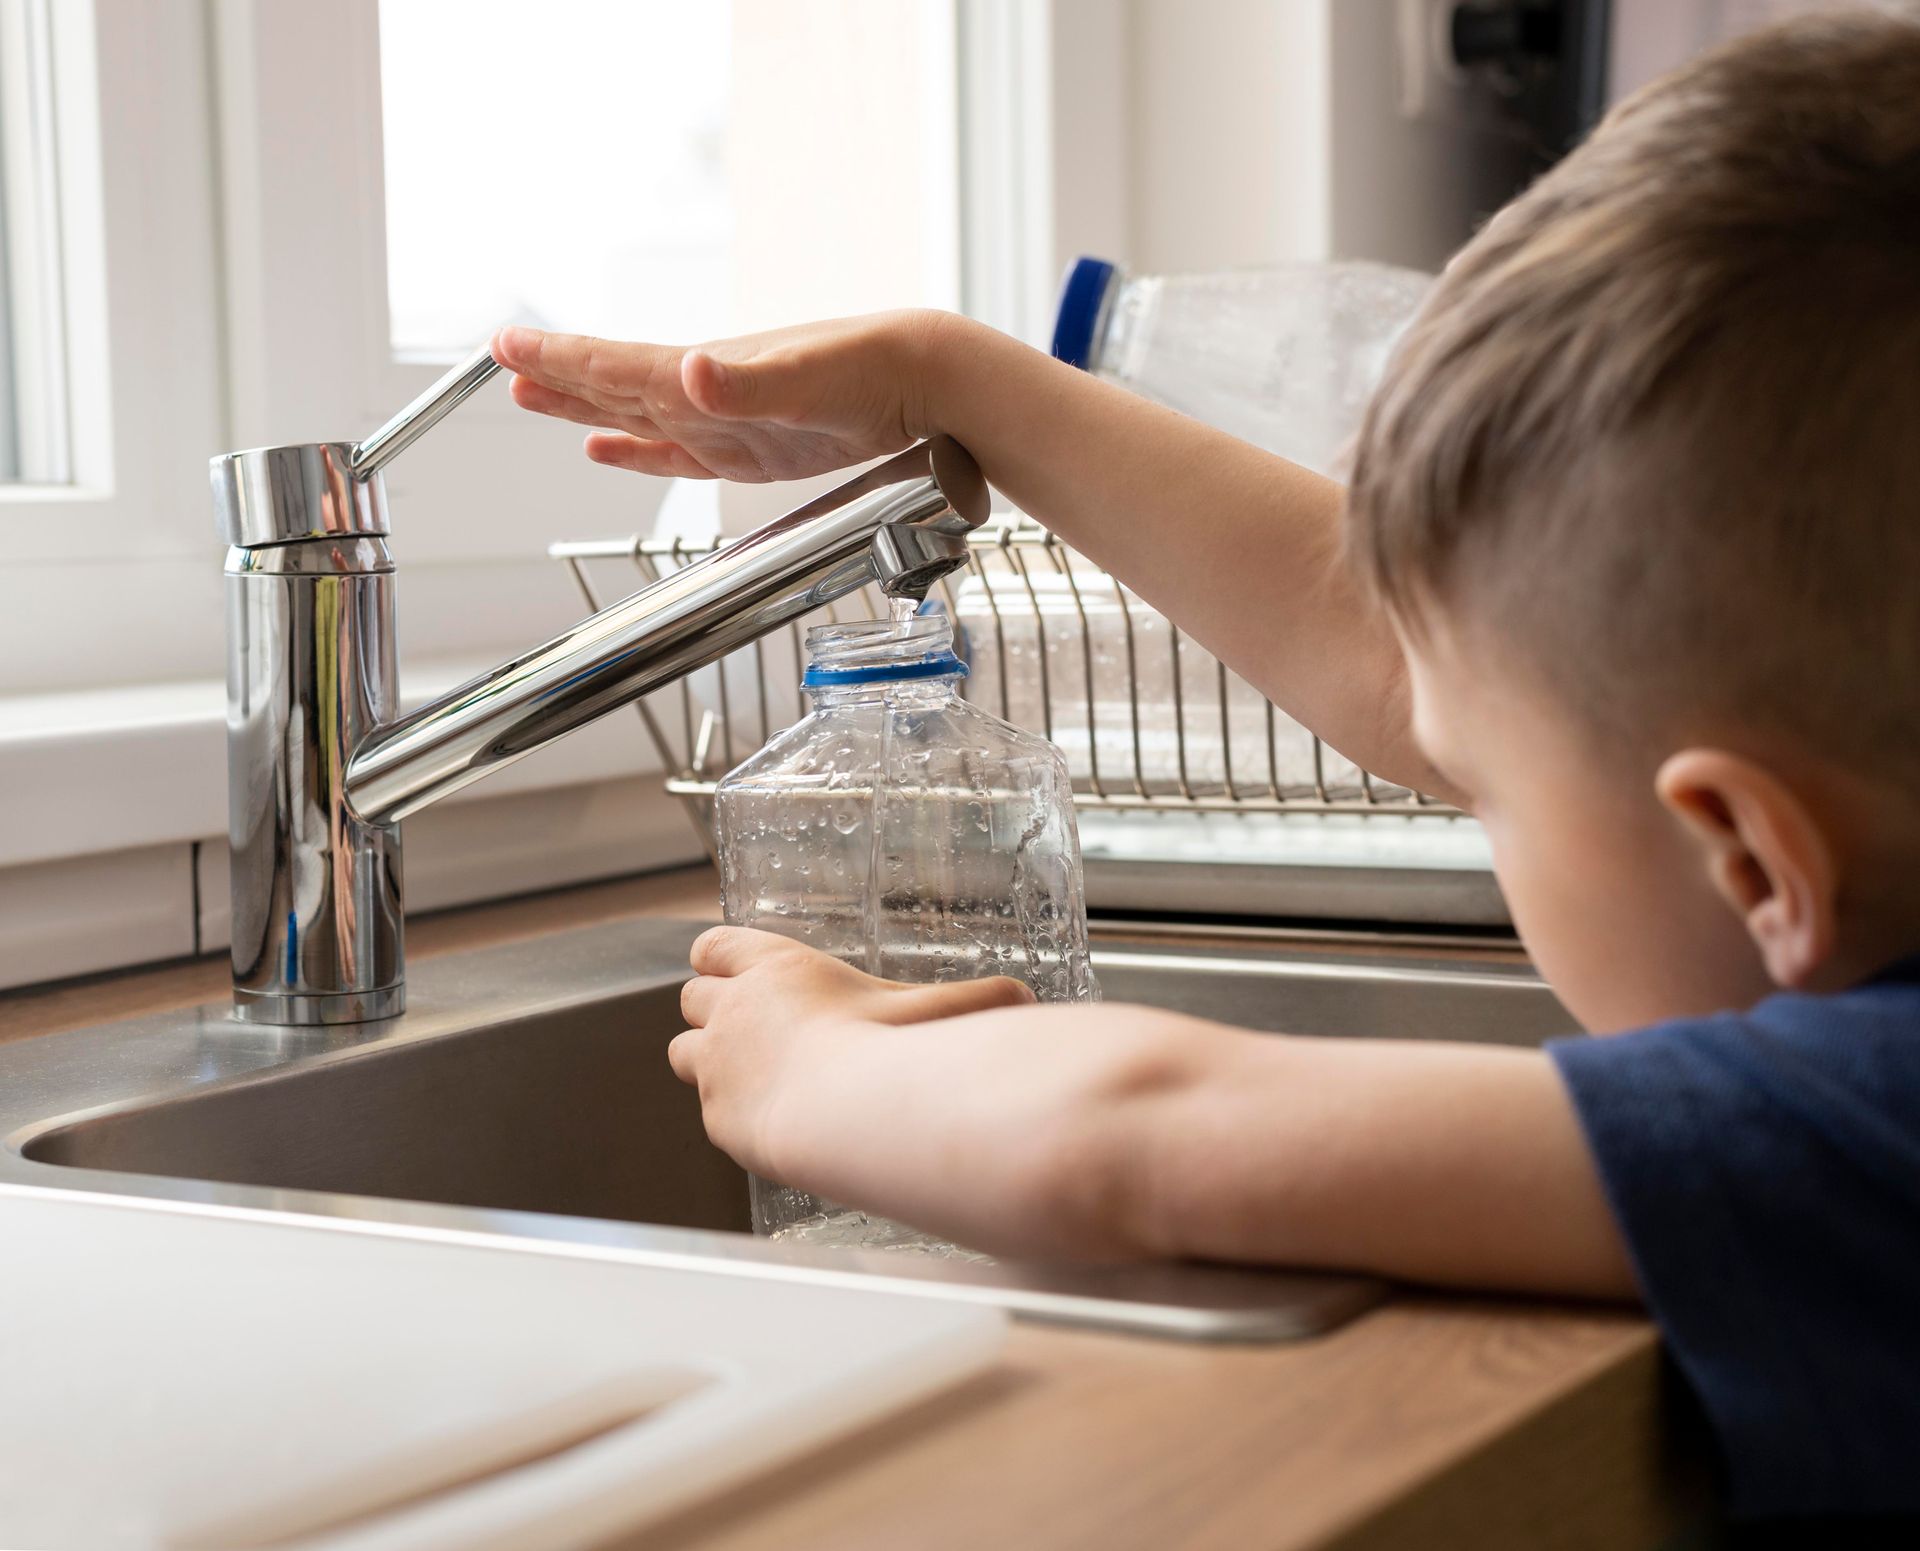
Find the main shut-off valve in your home before doing anything else. It's usually near the water meter or where the main line enters the house. Turn the valve clockwise to stop the water flow. If you can't locate it, check your home's blueprint or call a plumber for help. Once the water is off, open a faucet at the lowest point in your home to drain whatever's left in the pipes. Ensuring the water is completely off prevents leaks and makes the process easier.
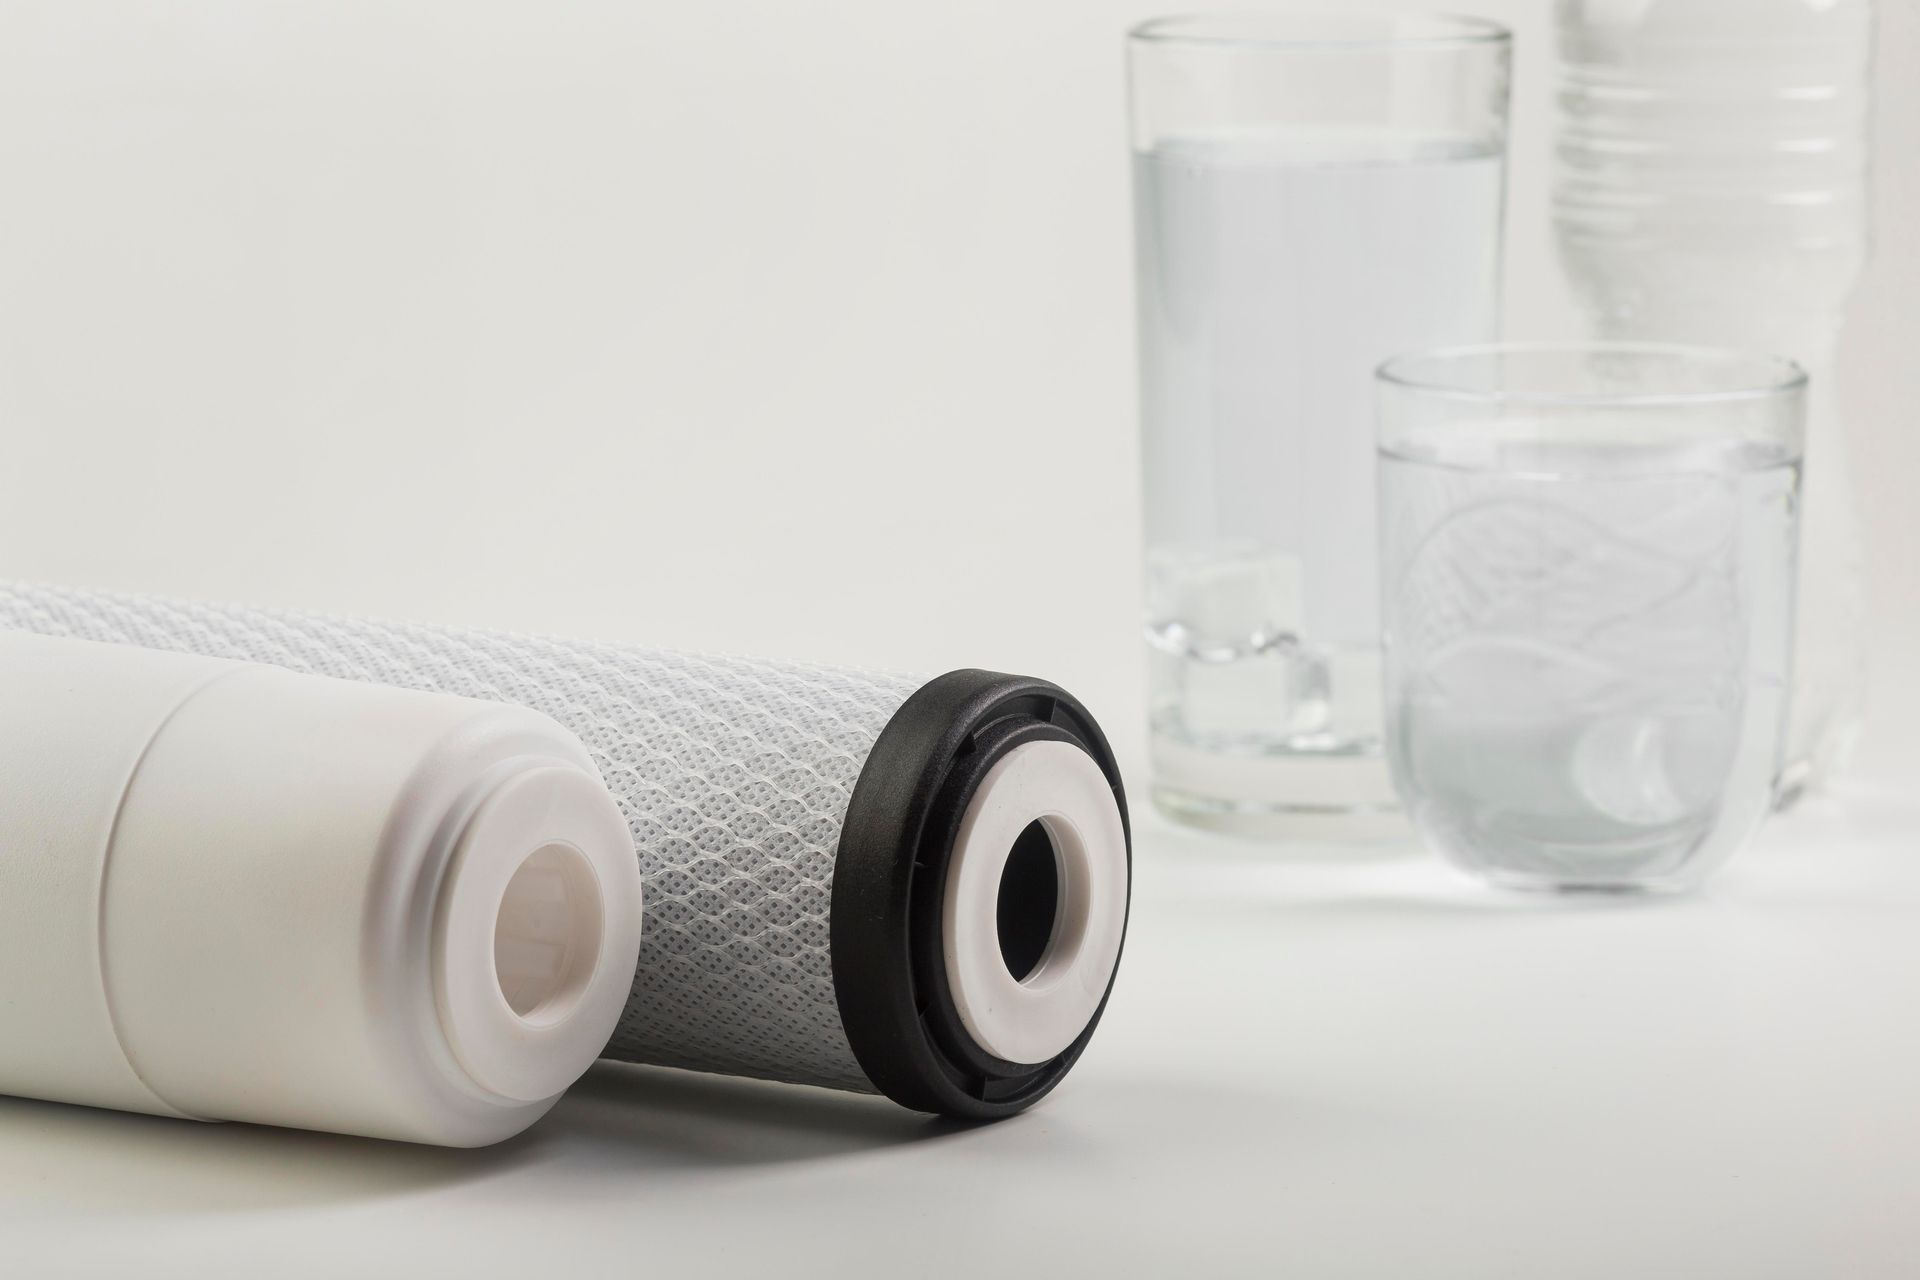
Install Filter According to Instructions
Follow the manufacturer's instructions carefully when installing the filter. Proper installation is essential for getting the best performance from your system. Here's what to do:
- Prepare the Area: Clear the space under the sink and ensure you have room to work.
- Identify the Correct Placement: Find the best spot for the filter in your plumbing system.
- Secure the Filter: Use the right tools to fasten the filter firmly in place.
Connect the Plumbing: Hook up the filter to your water supply lines following the manufacturer's guidelines.
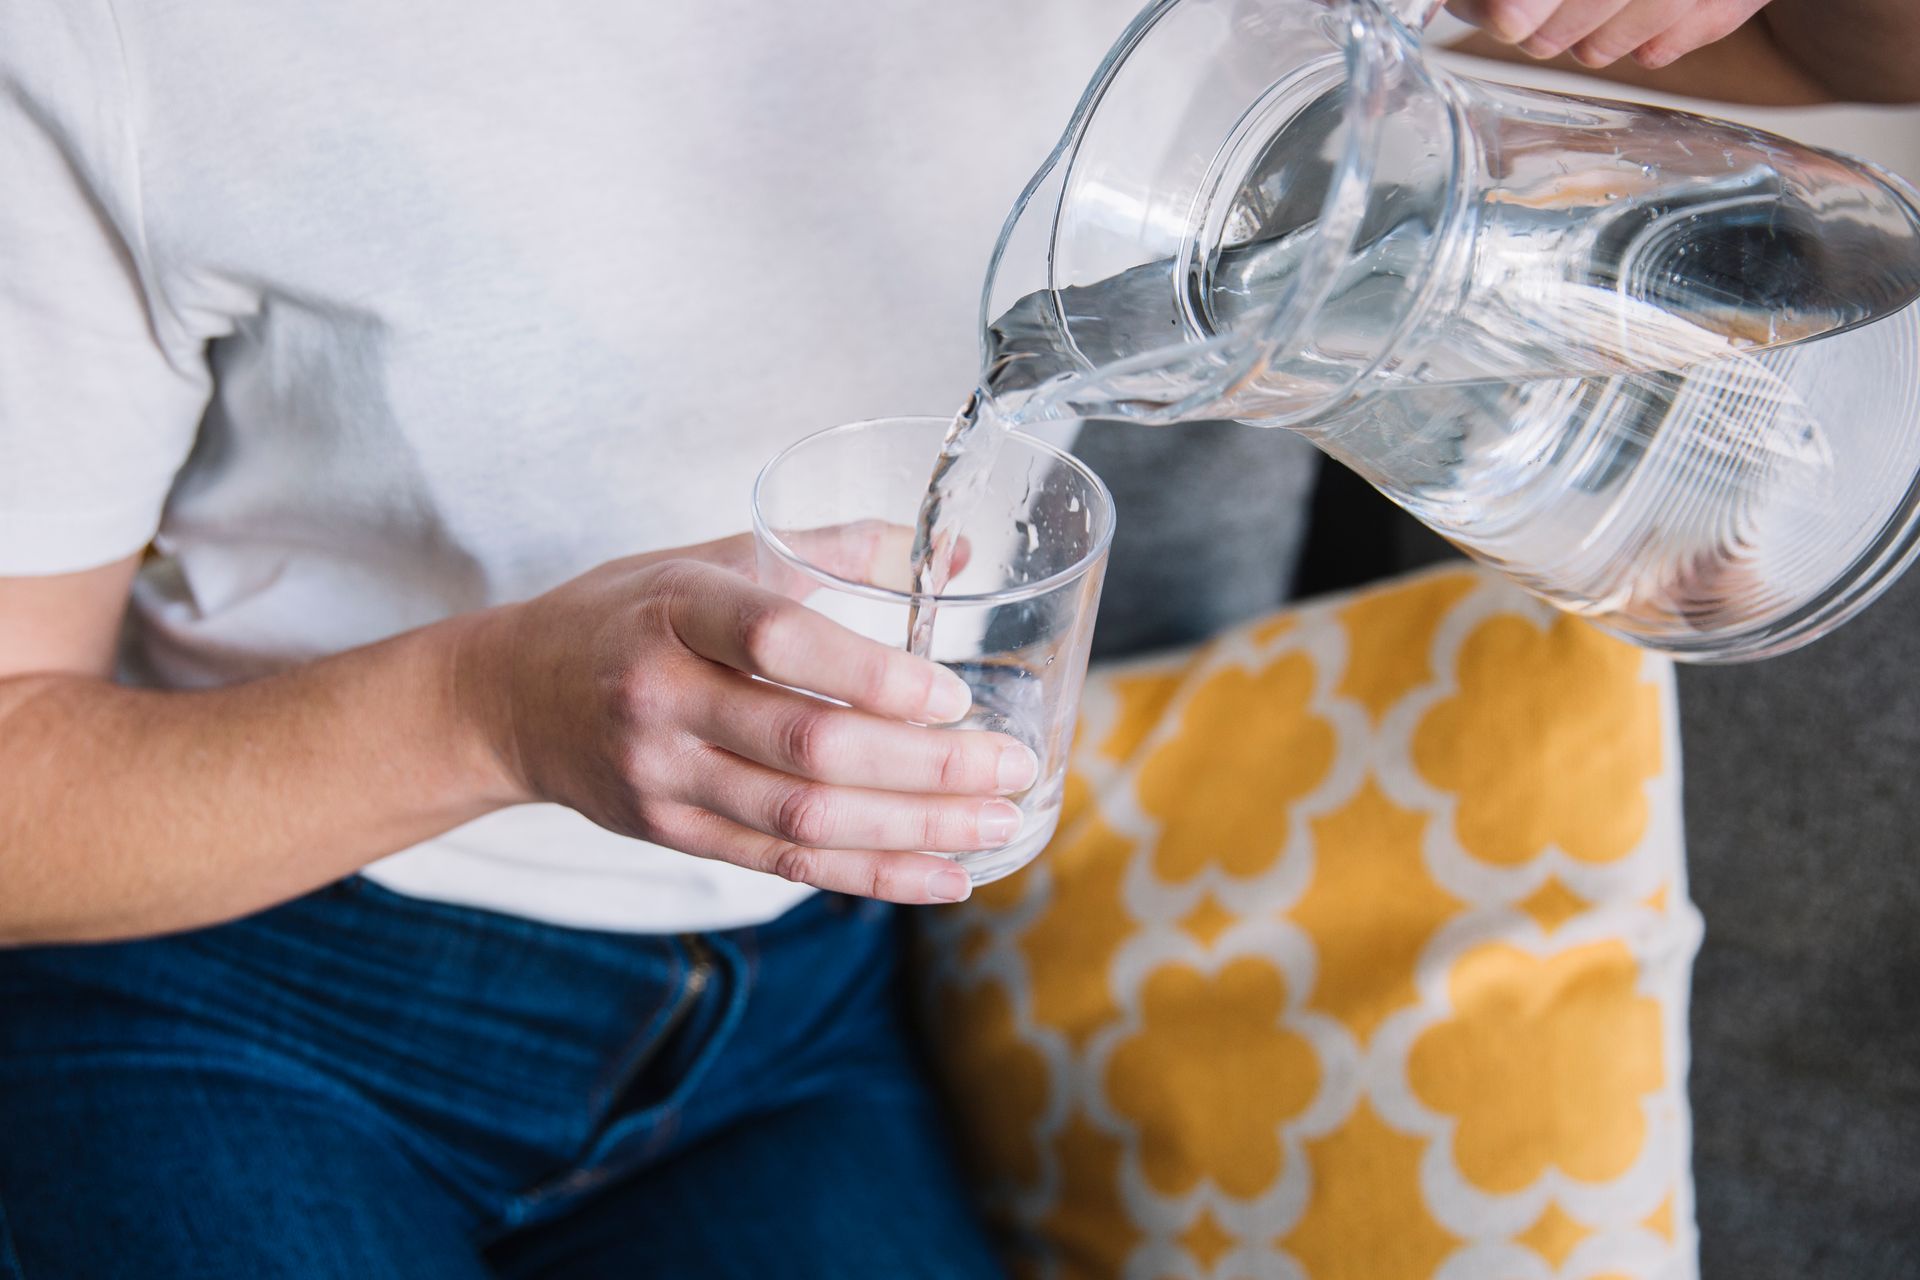
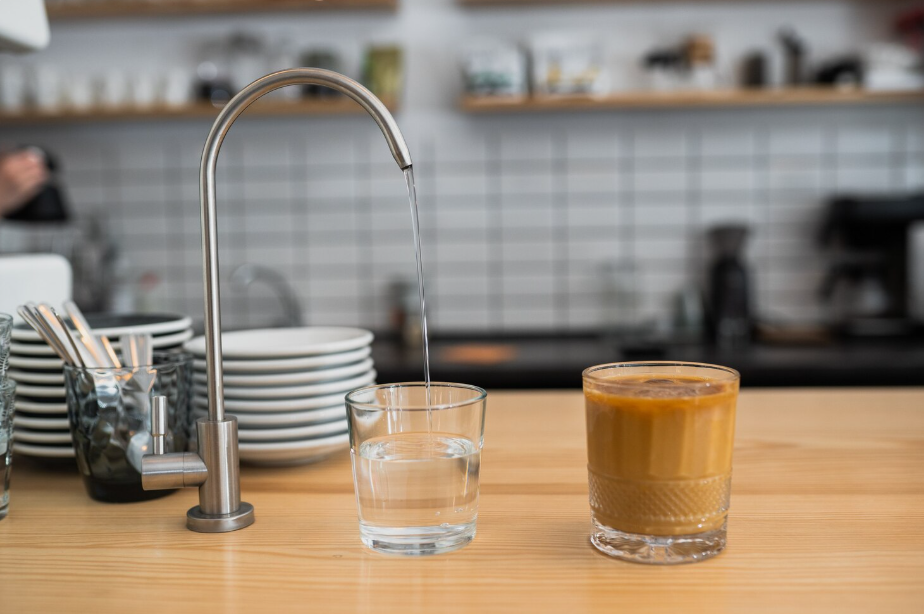
Test Water Quality
After the filter is installed, test your water to confirm it's actually removing impurities, either by using a water-testing kit or professional
water testing services designed to detect common contaminants such as lead, chlorine, mercury, and bacteria. Follow the kit's directions closely for accurate results. Collect water samples before and after the filter to compare impurity levels. Check factors like pH, turbidity, and total dissolved solids to get a full picture of your water quality. If the results show the filter isn't doing its job, you may need to adjust the setup or replace it.
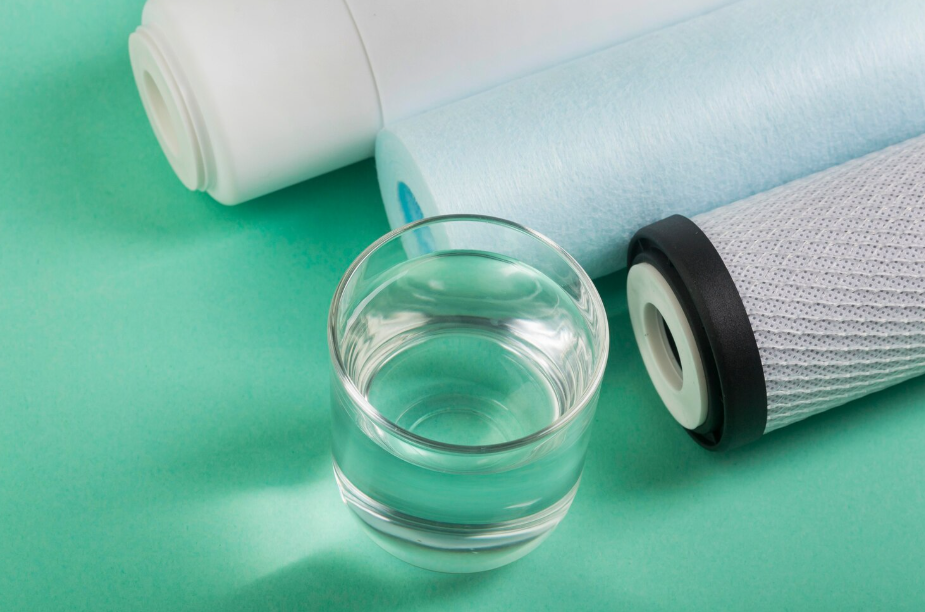
Monitor and Maintain Filter
Regular upkeep keeps your water filter running at its best. Here's how to stay on top of maintenance:
- Check Filter Status: Inspect for signs of damage or clogging regularly.
- Replace Filter Cartridges: Replace them at the intervals recommended by the manufacturer.
- Clean Filter Housings: Remove any debris or buildup from the housings periodically.
- Test Water Quality: Continue testing to ensure the filter continues to remove impurities effectively.
Related Topics: